When it comes to preserving the beauty and longevity of your precious jewelry, regular cleaning is of paramount importance. Over time, dirt, oils, and other residues can accumulate on the surface of your beloved pieces, diminishing their shine and sparkle.
Fortunately, advancements in technology have given rise to a remarkable solution – ultrasonic cleaners. These innovative devices employ the power of ultrasonic waves to effectively remove dirt and grime from jewelry items with ease.
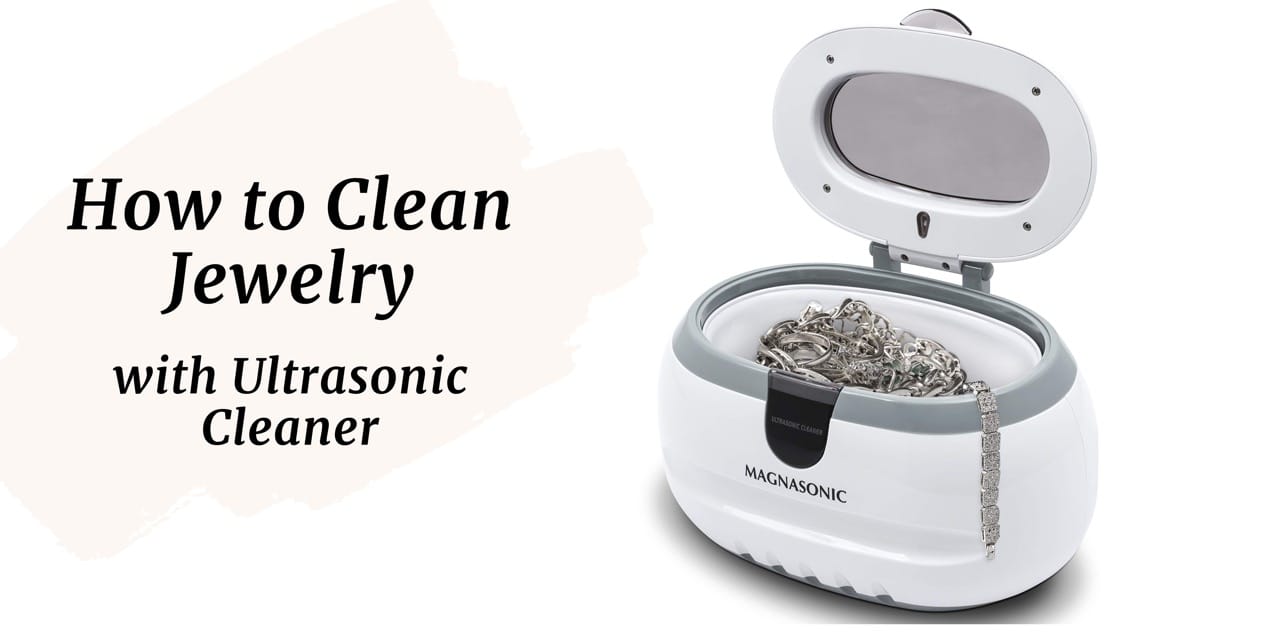
Brief Overview of Ultrasonic Cleaners
Ultrasonic cleaners are sophisticated devices specifically designed for deep cleaning delicate items such as jewelry. They use high-frequency sound waves that create millions of microscopic bubbles in a liquid medium. These bubbles rapidly collapse upon contact with surfaces, creating intense pressure that dislodges even the tiniest particles clinging to your jewelry.
The cleaner consists of a tank filled with a suitable cleaning solution – typically water mixed with a mild detergent formulated for jewelry cleaning purposes. When activated, the ultrasonic waves produced by transducers within the device travel through the liquid medium and reach every nook and cranny of your jewelry pieces for thorough cleansing.
Importance of Cleaning Jewelry Regularly
Jewelry is not merely an accessory; it holds sentimental value and often represents significant financial investments. By regularly cleaning your jewelry with an ultrasonic cleaner, you help maintain its luster while also ensuring its longevity.
In our daily lives, our precious ornaments come into contact with various substances like perspiration, lotions, cosmetics, environmental pollutants – all contributing to the gradual buildup of grime on their surfaces. If left unattended for long periods, this accumulation can tarnish metals or dull gemstones’ brilliance over time.
Additionally, regular cleaning prevents any potential damage that may arise from prolonged exposure to dirt or debris. By promptly removing these contaminants, you reduce the risk of scratches, discoloration, or even gemstone detachment.
Understanding Ultrasonic Cleaning
Explanation of ultrasonic waves and their cleaning mechanism
Ultrasonic cleaning is a highly efficient method of removing dirt, grime, and contaminants from various objects, including jewelry. The process relies on the use of ultrasonic waves, which are high-frequency sound waves beyond the range of human hearing. These waves create tiny bubbles called cavitation bubbles in the liquid within the ultrasonic cleaner’s tank.
When the cavitation bubbles collapse near the surface of the jewelry being cleaned, they produce an intense scrubbing action that dislodges dirt particles from even intricate crevices. This phenomenon occurs due to a rapid change in pressure within these collapsing bubbles, generating powerful shockwaves that effectively break down and remove stubborn residues from jewelry surfaces. Benefits of using an ultrasonic cleaner for jewelry cleaning
The advantages of utilizing an ultrasonic cleaner for jewelry cleaning are manifold. Firstly, it provides deep and thorough cleansing that is difficult to achieve through manual methods alone. The microscopic agitation caused by ultrasonic waves easily reaches areas where brushes or cloths may fail to penetrate.
Secondly, this process is non-abrasive and gentle on delicate gemstones, metals, and settings. The cleaning action primarily relies on liquid agitation rather than physical contact between objects or abrasive materials.
Thus, there is minimal risk of scratching or causing damage during the cleaning process. Furthermore, using an ultrasonic cleaner reduces the need for harsh chemicals that may be harmful to both your health and precious jewelry items.
While a mild detergent specifically formulated for jewelry cleaning is usually added to enhance results in an ultrasonic cleaner’s tank, it requires far less detergent compared to other traditional methods. Note: HTML tags are used here only for formatting purposes
Gather Necessary Supplies
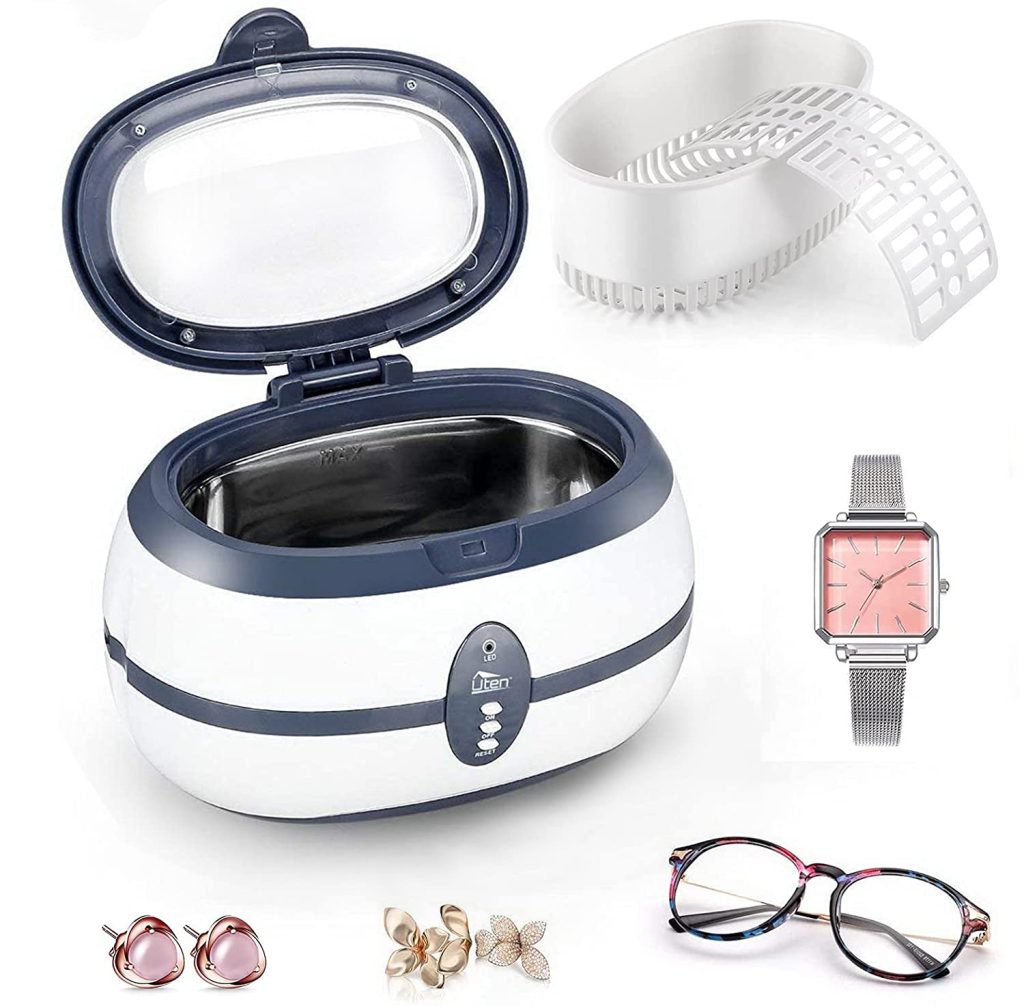
To ensure a successful and thorough jewelry cleaning session with an ultrasonic cleaner, it is essential to gather all the necessary supplies. First and foremost, you will need an ultrasonic cleaner, which is a device that uses high-frequency sound waves to create microscopic bubbles that gently remove dirt and grime from your jewelry.
It is advisable to invest in a high-quality ultrasonic cleaner with multiple cleaning modes and adjustable settings for optimal control during the cleaning process. Next, you will need a mild detergent specifically formulated for jewelry cleaning.
Look for a non-abrasive detergent that does not contain harsh chemicals or abrasive particles. Using the wrong detergent can damage the delicate surface of your jewelry or cause discoloration.
It’s always recommended to choose a detergent specifically designed for use with ultrasonic cleaners, as they are typically more suitable for this type of cleaning method. Additionally, having a soft brush on hand is crucial for loosening stubborn dirt particles from intricate details or hard-to-reach areas on your jewelry pieces.
Opt for a brush with soft bristles made of natural fibers or gentle synthetic materials to avoid scratching or damaging the surface of your precious gems and metals. Distilled water should be used in the ultrasonic cleaner’s tank instead of tap water.
Distilled water is free from impurities such as minerals and chemicals that can leave residue on your jewelry after the cleaning process. This helps prevent any potential damage or unattractive spots caused by mineral deposits.
Sort and Organize Jewelry
Before immersing your jewelry into the ultrasonic cleaner’s tank, it is crucial to sort and organize them based on material type and fragility. This step ensures that each piece receives appropriate care during the cleaning process, preventing any potential damage caused by mixing different types of jewelry together. Begin by separating different types of metals such as gold, silver, platinum, stainless steel, and so on.
This is important because different metals have varying degrees of sensitivity to the ultrasonic cleaning process. For example, more delicate metals like silver or platinum may require shorter cleaning cycles or lower intensity settings to avoid any surface damage.
Similarly, consider the fragility of gemstones when sorting your jewelry. Some gemstones may be more susceptible to cracks or fractures when exposed to high-frequency vibrations.
Therefore, it is advisable to remove extremely fragile or porous gemstones from the ultrasonic cleaner’s process altogether and clean them by alternative methods. By sorting and organizing your jewelry before cleaning, you can ensure that each piece receives the appropriate care it needs during the ultrasonic cleaning process.
This methodical approach also minimizes the risk of tangling or scratching between different pieces, allowing for a hassle-free and efficient cleaning experience. Remember, taking these preparatory steps not only enhances the effectiveness of your jewelry cleaning session but also helps protect the longevity and beauty of your cherished pieces for years to come.
Step-by-Step Guide to Cleaning Jewelry with an Ultrasonic Cleaner
Step 1: Read the manufacturer’s instructions for your specific ultrasonic cleaner model to ensure safe usage.
Before diving into the cleaning process, it is crucial to familiarize yourself with the operating instructions provided by the manufacturer of your ultrasonic cleaner. Every model may have unique features, settings, and safety guidelines that you must be aware of.
Reading and understanding these instructions ensures that you use the machine correctly and avoid any potential risks or damage. Take note of any specific precautions outlined by the manufacturer, such as recommended cleaning times or limitations on certain types of jewelry.
Pay attention to warnings related to temperature control or potential hazards when using additives in conjunction with the ultrasonic cleaner. By adhering to these instructions, you can maximize both the efficiency and longevity of your jewelry cleaning process.
Step 2: Fill the tank with distilled water up to the recommended level.
When preparing your ultrasonic cleaner for jewelry cleaning, it is essential to use distilled water rather than tap water. Distilled water does not contain minerals or impurities commonly found in tap water, reducing the risk of leaving behind deposits on your precious gems and metals. Fill the tank with distilled water up to the recommended level indicated by either markings on the tank or guidelines provided in your user manual.
It is important not to overfill as excessive liquid may spill during operation. By following this guideline precisely, you ensure optimal performance and prevent any potential damage caused by improper liquid levels.
It is worth noting that some manufacturers might suggest a specific temperature range for optimal cleaning results. Pay careful attention to those recommendations if provided as they can significantly impact how effectively dirt and grime are removed from your jewelry pieces.
Step 3: Add a small amount of mild detergent specifically formulated for jewelry cleaning into the tank.
While distilled water forms the foundation for the cleaning process, adding a mild detergent specifically formulated for jewelry enhances the overall effectiveness of the ultrasonic cleaner. These specialized detergents are designed to remove dirt and grime without compromising the integrity of gemstones or precious metals. It is important to use only a small amount of detergent as using too much could potentially create excessive foam or residue.
Follow the manufacturer’s instructions regarding the recommended quantity for your specific ultrasonic cleaner model. Avoid using harsh chemicals or household cleaners as they can be overly abrasive and may cause irreversible damage to your jewelry.
Furthermore, certain gemstones and metals, such as pearls or opals, require extra care and specific cleaning methods that might not be appropriate in an ultrasonic cleaner. Always exercise caution when selecting detergents to ensure they are gentle yet effective in maintaining the beauty of your jewelry pieces.
Step 4: Place the jewelry pieces in a mesh basket or use a suspension hook to avoid direct contact with the tank’s bottom.
To prevent potential damage caused by vibrations against hard surfaces within the tank, it is crucial to properly position your jewelry pieces during cleaning. Placing them directly on the tank’s bottom may result in unnecessary wear or scratches. Consider using a mesh basket specifically designed for use with ultrasonic cleaners.
This allows water and cleaning solution to penetrate all areas while simultaneously keeping your jewelry securely contained. Alternatively, if a mesh basket is not available, you can use a suspension hook attached to an appropriate support above the bottom of the tank.
When arranging multiple pieces together, ensure they do not tangle or come into direct contact with one another, which could lead to scratching or other damage. Carefully spacing them out within the basket or hanging individually on separate hooks will help maintain their individual integrity throughout the cleaning process.
Cleaning Process in an Ultrasonic Cleaner
Immersing the Jewelry
Once the ultrasonic cleaner is prepared with water and detergent, carefully place the jewelry pieces in the mesh basket or suspend them using a suspension hook. It is essential to ensure that the jewelry is fully immersed in the liquid, allowing all surfaces to come into contact with the ultrasonic waves. This thorough immersion enables effective cleaning by ensuring that dirt and grime are dislodged from even hard-to-reach areas.
Ultrasonic Cleaning Cycle
Activate the ultrasonic cleaner according to its instructions, initiating a cleaning cycle that typically lasts between 5 to 10 minutes. During this time, microscopic bubbles created by ultrasonic waves will vigorously agitate and scrub away dirt particles from your jewelry.
The agitation caused by these bubbles reaching high frequencies generates a gentle yet powerful cleaning action known as cavitation. This process ensures even delicate or intricate pieces receive thorough cleaning without causing any harm.
Rinsing and Drying
Once the cleaning cycle is complete, carefully remove your jewelry from the ultrasonic cleaner using gloves or tweezers to avoid contact with residual detergent. Rinse each piece thoroughly under running distilled water to remove any traces of detergent residue. Pat dry using a soft lint-free cloth or allow them to air dry completely before storing them back in their designated compartments or wearing them once again.
Conclusion
Utilizing an ultrasonic cleaner for jewelry maintenance can be remarkably beneficial and efficient. By harnessing the power of ultrasonic waves and their unique mechanism of cavitation, you can achieve a level of cleanliness that manual methods often struggle to match.
The meticulous immersion, combined with gentle yet vigorous agitation provided by these cleaners, ensures your precious jewels receive a deep clean while minimizing potential damage. So why not pamper your beloved jewelry collection with the care it deserves?
With an ultrasonic cleaner, you can effortlessly restore the brilliance and sparkle of your favorite pieces. Embrace the convenience and effectiveness of ultrasonic cleaning, and let your jewelry shine bright once again, becoming a captivating reflection of your own radiant personality.